Swift4 カスタムセルの作り方
他の記事が古かったり、いい記事がなかったのでまとめます。
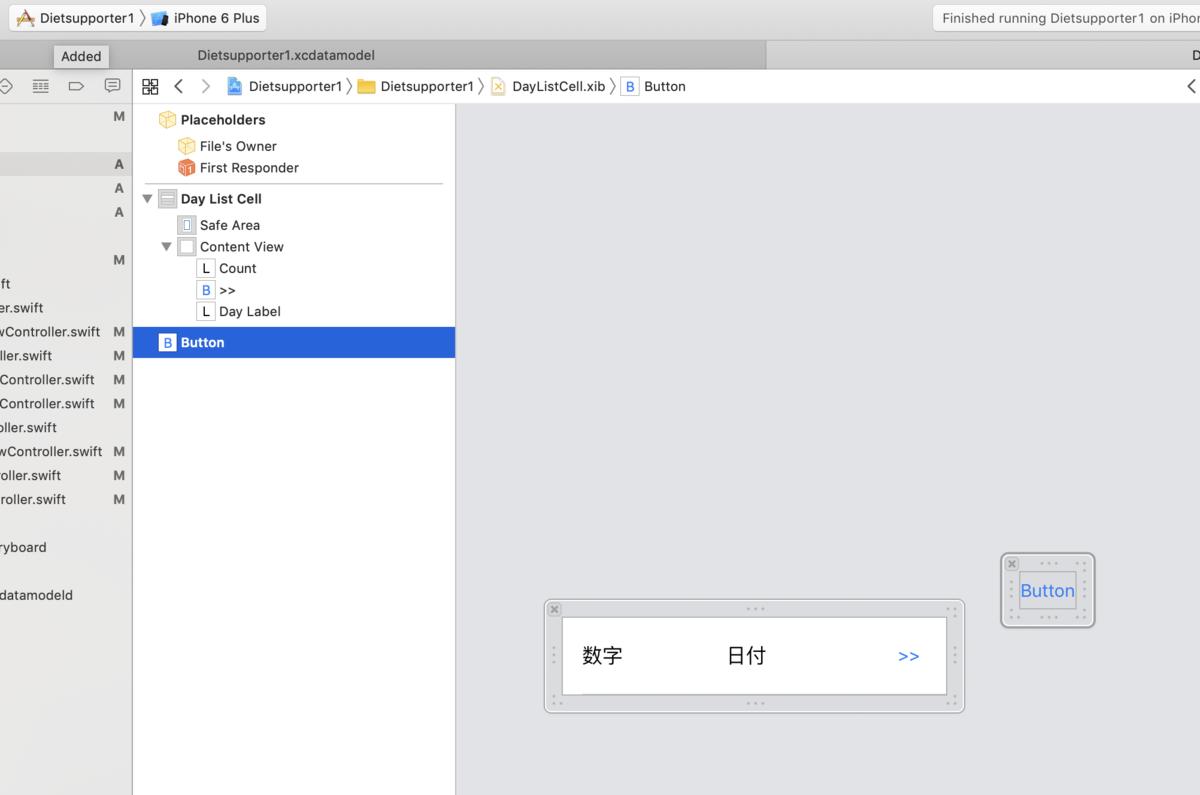
xibファイルの作成
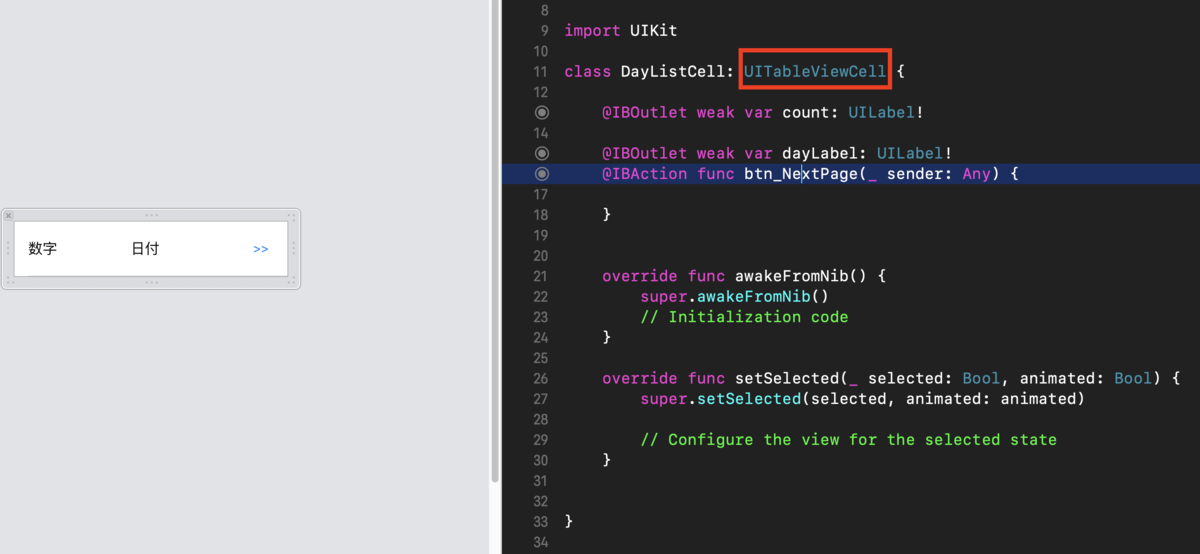
ポイントはUITableViewCell を継承したクラスを作成すること
画面はそれぞれ@IBOutletで接続しておく。

実装するクラスでセルを登録 registerメソッドを利用
ここではPlanCellという名で登録している。ここはどんな名前でも良い。
ただ、あとでこの名前を使うので注意 ここでViewを作るのでStoryBoardには、cellを配置しなくても良い 当然 identifiyer も不要
   super.viewDidLoad()
        tableView_plan.delegate = self
        tableView_plan.dataSource = self
//登録
        self.tableView_plan.register(DayListCell.self, forCellReuseIdentifier: "PlanCell")

            }
tableViewの記述
  func tableView(_ tableView: UITableView, cellForRowAt indexPath: IndexPath) -> UITableViewCell {
        // セルを取得する 先程のPlanCell よってキャストも必要ない
        let cell: UITableViewCell = tableView.dequeueReusableCell(withIdentifier: "PlanCell", for: indexPath)

        // セルに表示する値を設定する
        cell.textLabel!.text = plans?[indexPath.row].name

        return cell
    }
ちなみに画面外にボタンが配置されていてエラー
これで1Hもったいない
